Status Pages
.
Status Pages
Status Pages provide a simple, efficient solution for stakeholder communication during and after an incident.
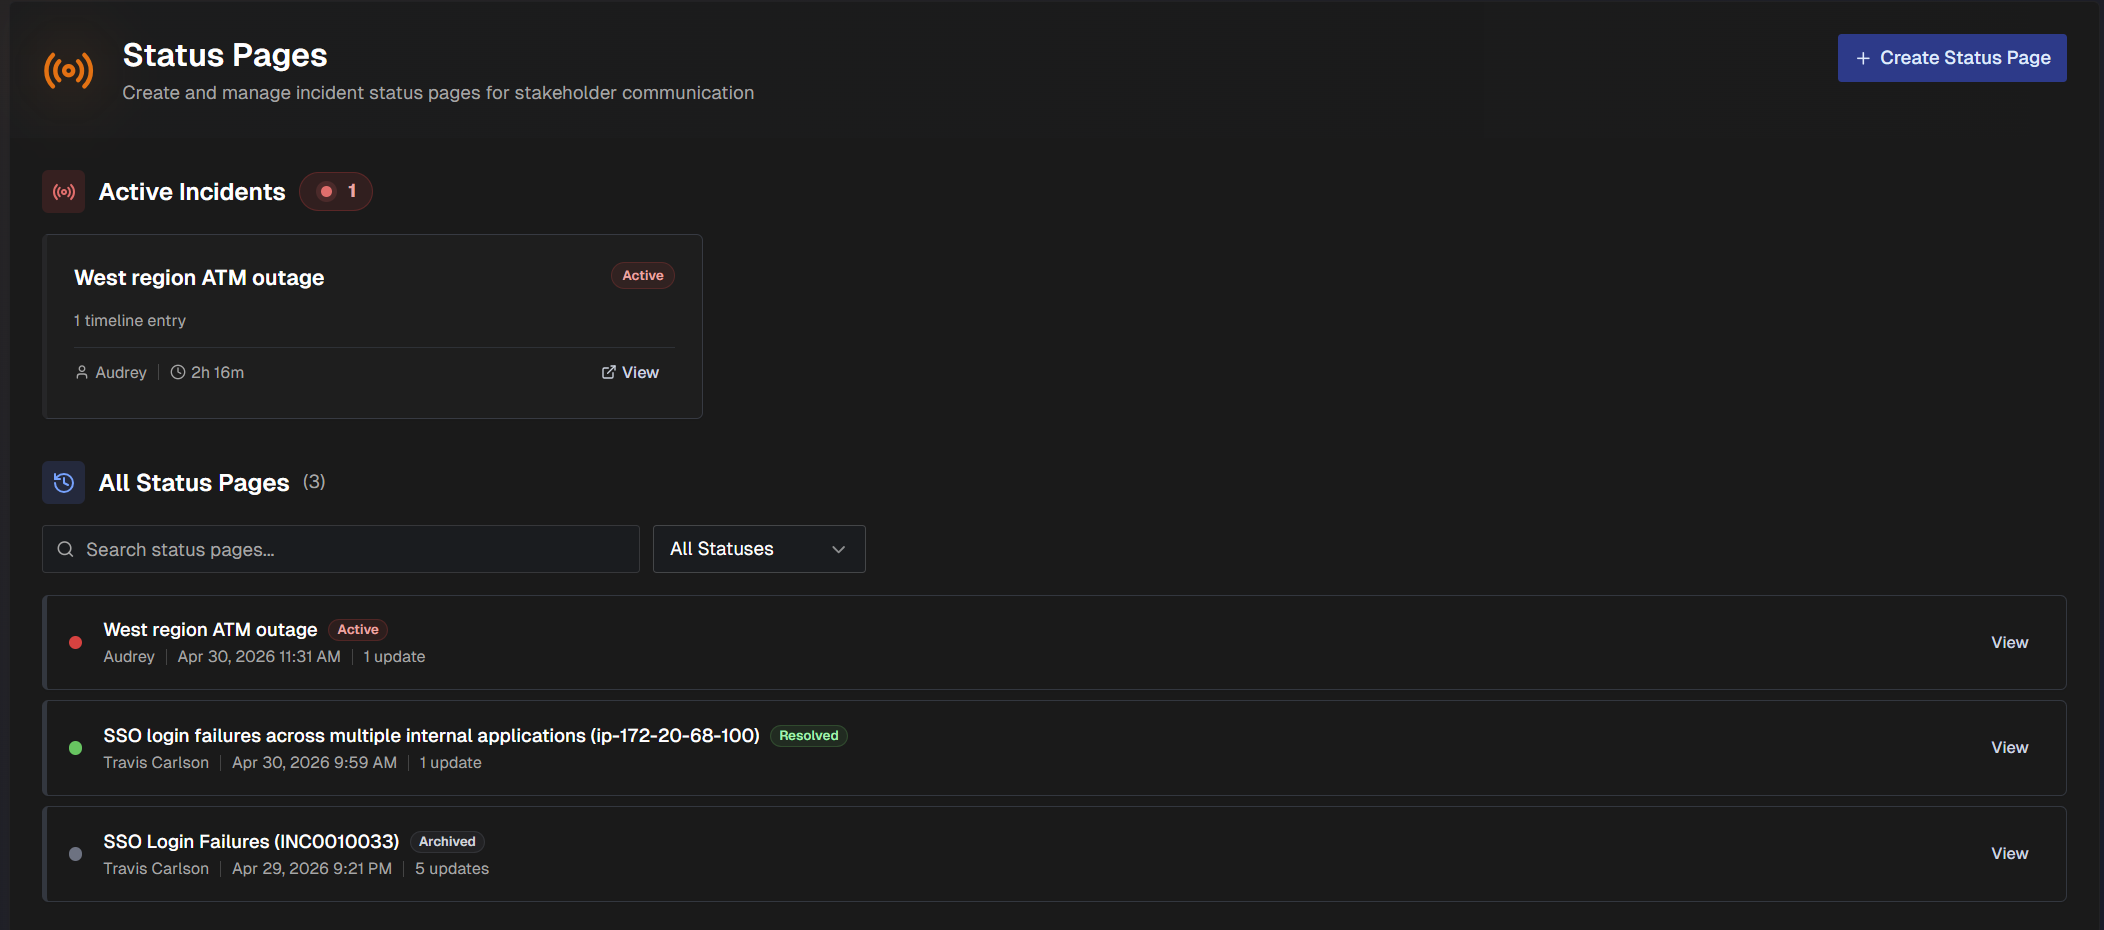
All active incidents that have a status page appear at the top of the dashboard. Click any active incident to view details. All other status pages appear at the bottom of the page.
Use the Search bar to find a specific status page, or use the Status filter to filter the list by status. Possible statuses include Active & Recent, Draft, Active, Monitoring, Resolved, and Archived.
Create a Status Page
To create a new status page:
In the upper right corner of the page, click + Create Status Page.
In the New Status Page modal, select a Template. The following options are available:
Standard Incident (Default) - Comprehensive status page for general incidents. Covers impact, root cause, timeline, and remediation.
Outage - Used for outages caused by major incidents.
Enter the incident details. You can paste the details From Text, From Ticket, or Manually enter an incident title.
Click Create. The page is created in draft status.
View and Manage a Status Page
Status pages are divided into three tabs: Executive, Technical, and History.
Basic information about the incident is available at the top of the page, including the title, status, and creation date.
On the top right of the page, depending on the status of the incident, you can Publish, Reactivate, or Resolve it. Click the Archive button to change the incident status to Archived.
Select the Trash Can icon to permanently delete a status page.
Select the Download icon to export the status page to a PDF document.
Select the Share icon to copy a link to either the Executive tab or the Technical tab.
Account and permissions required
Only accounts with access to the web app and permission to view status pages can navigate to a status page using a status page link. To share a status page with someone who does not have an account, we recommend sending a PDF.
Executive Tab
The Executive tab provides a basic overview of the incident for a business leader audience.

The tab contains the following information:
Section | Description |
|---|---|
Exec Overview | High-level overview of the incident for an executive audience. |
Properties | Contains details about the incident, including Incident ID, Status, Region, Start Time, and Last Updated. |
Business Impact | Description of how the outage is affecting the business. |
Affected Services | Services affected by the outage. |
Action Items | Incident action items. Completed action items are marked with a green checkmark. |
Timeline | Timeline of events that occurred associated with the incident. To manually include an event, click + Add Entry. Manually include What Happened, Additional Details, the Event Type (Update, Detection, Investigation, Identified, Mitigation, Monitoring, Resolved, or Custom), the Event Date, and Event Time. Click AI Parse to paste in timeline events including timestamps and descriptions, and AI will create the entry for you. |
Additional Properties | Additional information about the incident, including the source, the user who created the status page, the creation date, the last updated date, and the update cadence. |
Technical Tab
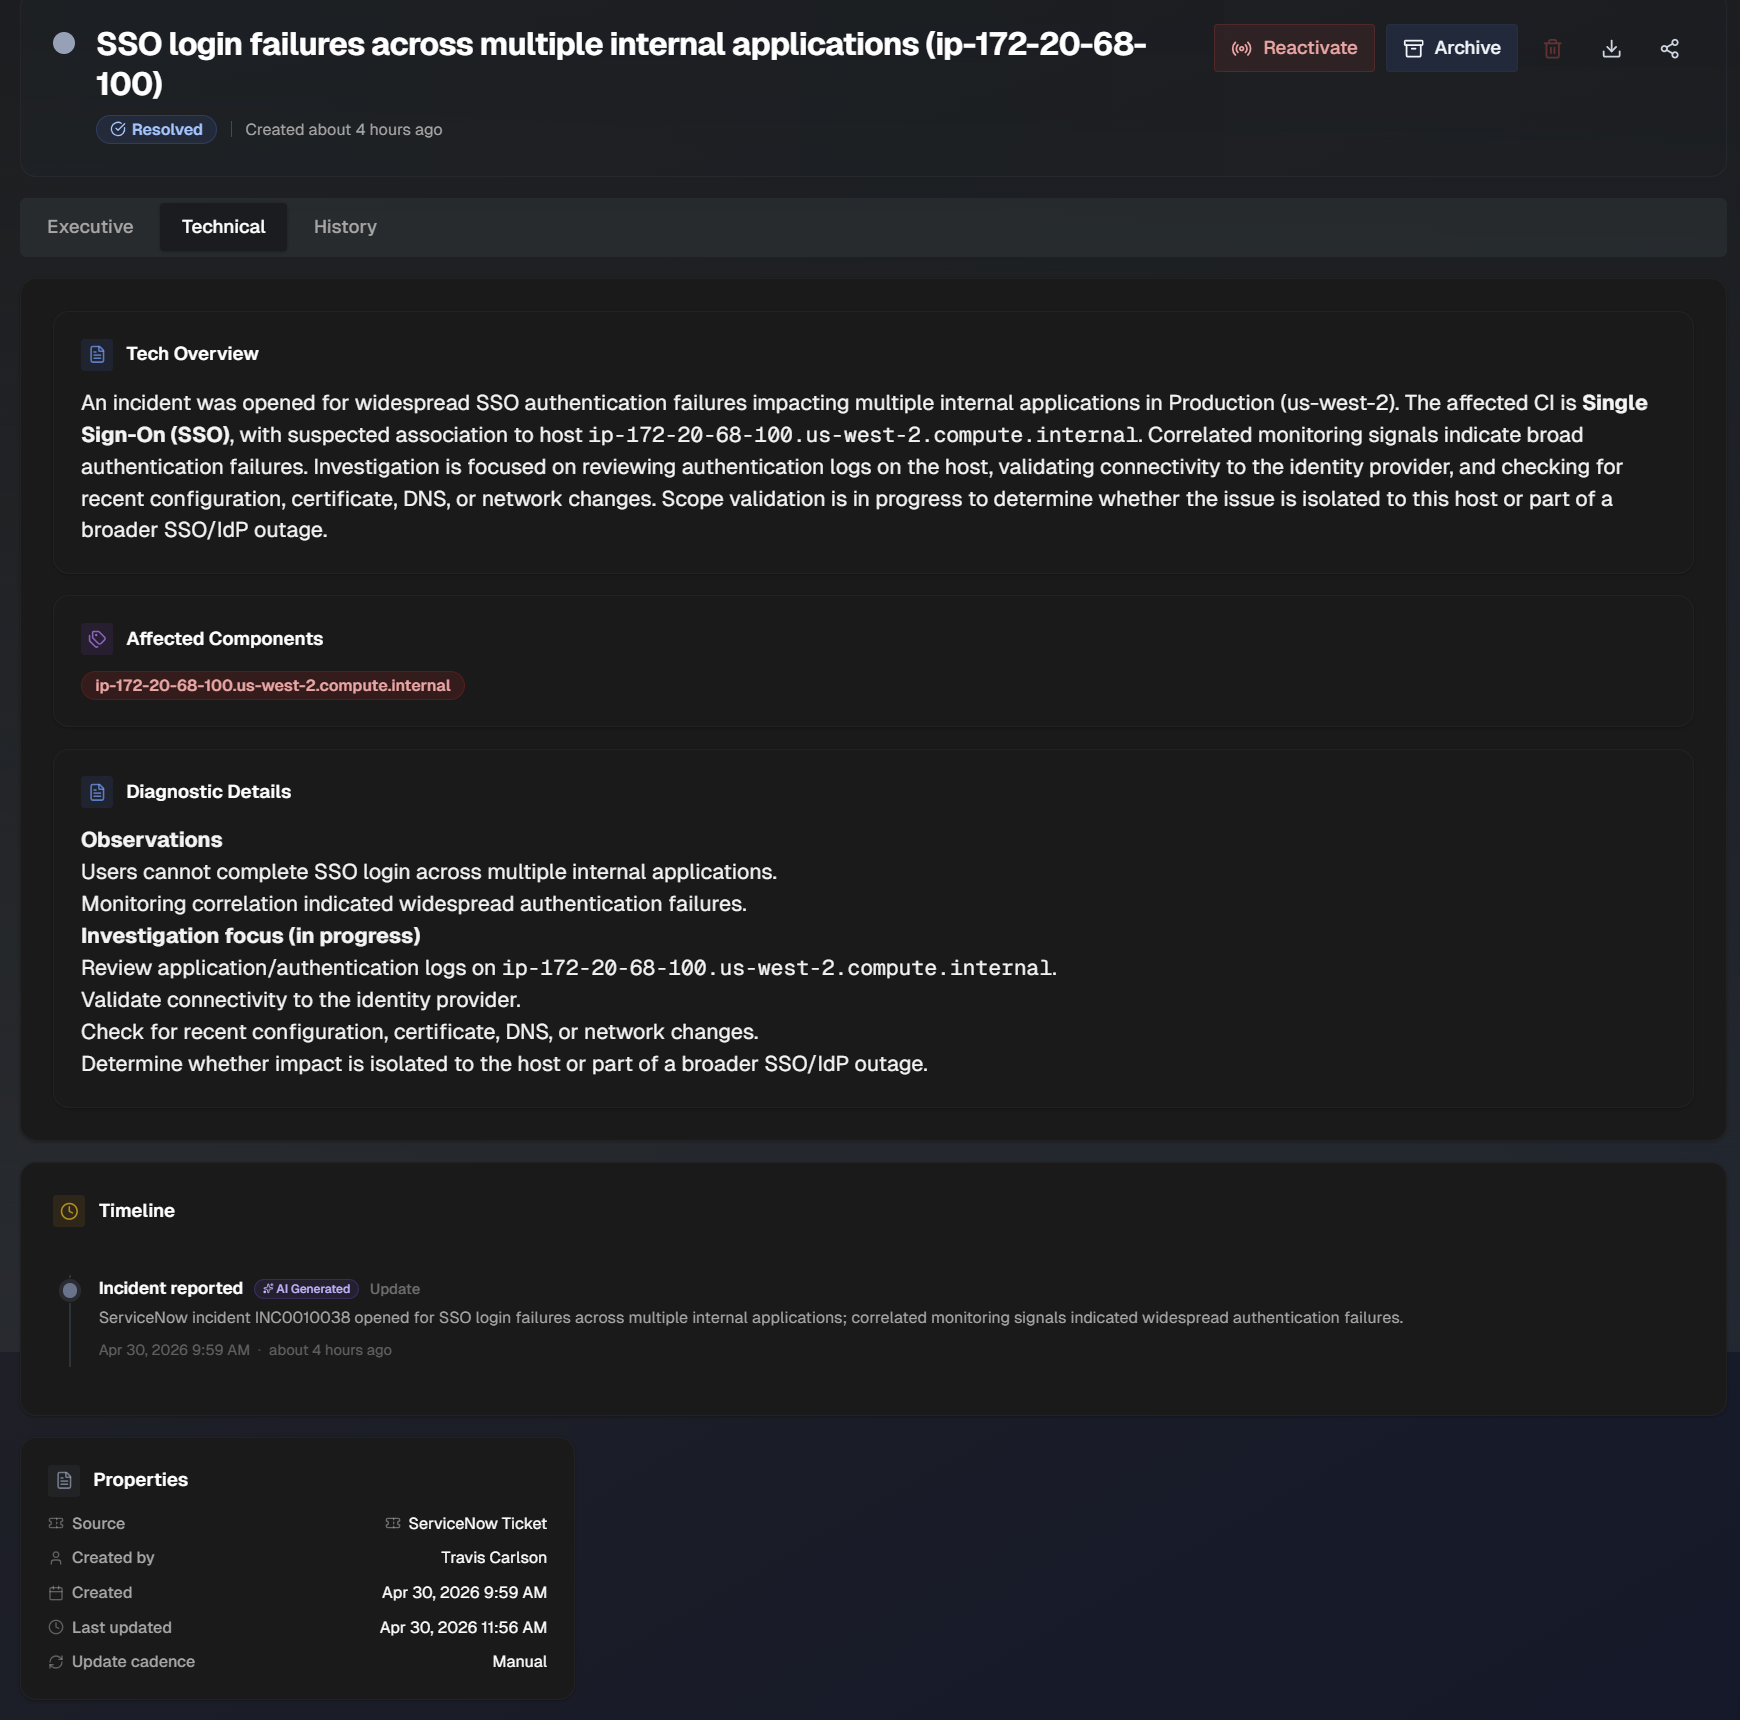
The Technical tab provides an overview of the incident intended for a technical audience.
The tab contains the following information:
Section | Description |
|---|---|
Tech Overview | Overview of the incident aimed at a technical audience. |
Affected Components | Specific components impacted by the incident. |
Diagnostic Details | Contains diagnostic information to help resolve the incident. |
Timeline | Timeline of events that occurred associated with the incident. To manually include an event, click + Add Entry. Manually include What Happened, Additional Details, the Event Type (Update, Detection, Investigation, Identified, Mitigation, Monitoring, Resolved, or Custom), the Event Date, and Event Time. Click AI Parse to paste in timeline events including timestamps and descriptions, and AI will create the entry for you. |
Properties | Information about the incident, including the source, the user who created the status page, the creation date, the last updated date, and the update cadence. |
History
The History tab provides a timeline of events related to the incident.
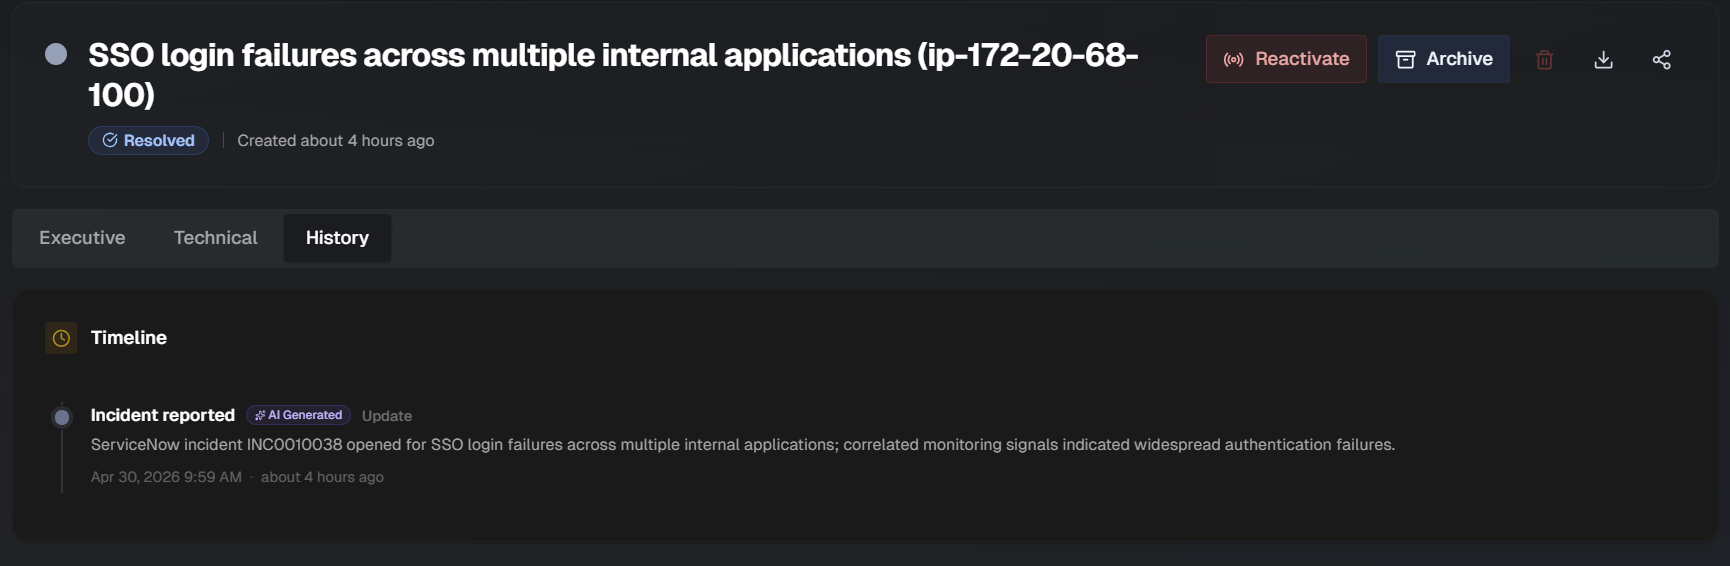
To manually include an event, click + Add Entry.
Manually include What Happened, Additional Details, the Event Type (Update, Detection, Investigation, Identified, Mitigation, Monitoring, Resolved, or Custom), the Event Date, and Event Time.
Click AI Parse to paste in timeline events including timestamps and descriptions, and AI will create the entry for you.